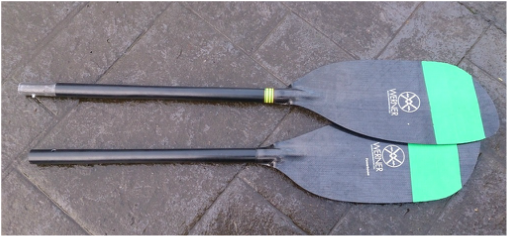
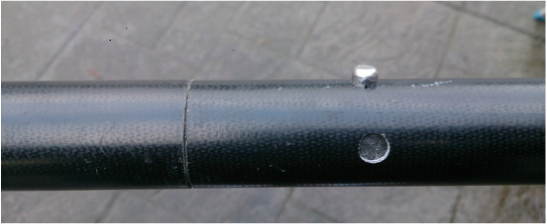
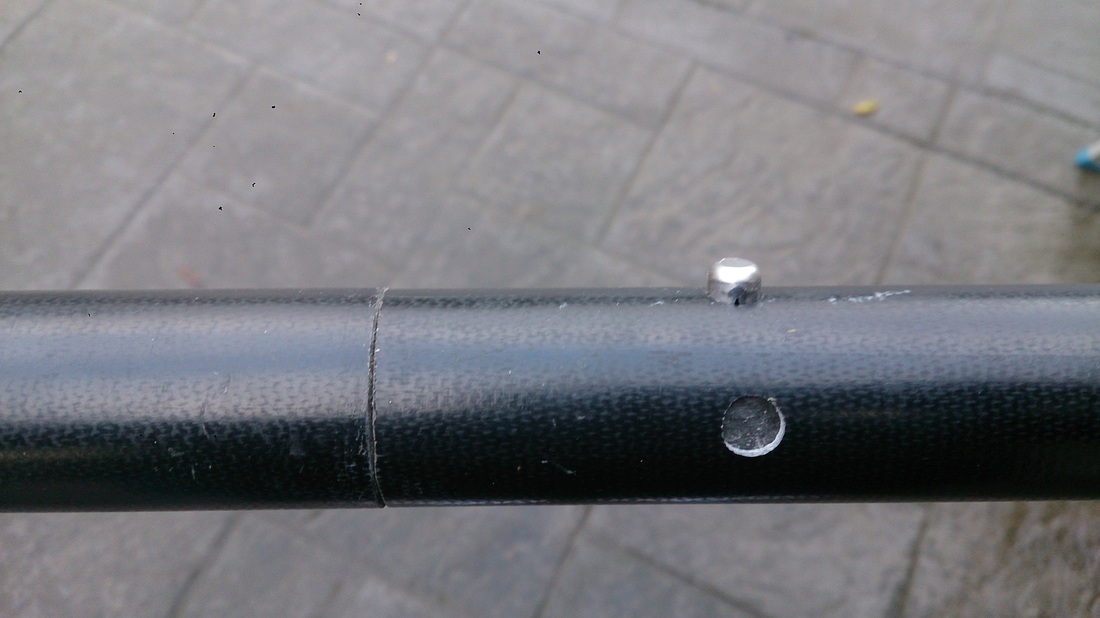
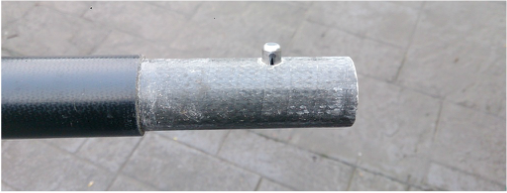
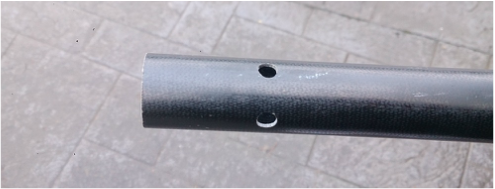
Making Split Whitewater Paddles12/3/2014 There has been a lovely fresh set of Werner Powerhouse paddles sitting in the shed for the last couple of years. The only problem with them is they were feathered to be left handed and they actually belong to my sister. But she hasn't used them in ages and I have had my eye on them for a while as potential splits. So I decided I would do her a favour and cut them in half. I know how thoughtful of me. So I done a little research online and decided the best and easiest option was to make 2 piece splits with a spring button joint. I would have prefered to use one of the new style clamps that are on most racing paddles now, but getting the correct fit would be a hassle and they cost about €50. I have put these joins into shafts before and it is pretty easy and gives you more options regarding paddle length and feather than the spring button. The reason for a 2 piece is because these paddles are only 191cm and there would not be enough space to have 2 joints for a 3 piece set. Less joins also means stronger paddles but they are more difficult to get in the back of your whitewater kayak. What to do: Step 1: Measure the length of the shaft and mark the centre. Get out your hacksaw. If you are going to use a perfectly good paddle you have to be brave. I covered the area of the shaft I would be working on with masking tape. (This makes it easier to put visible marks on the shaft and also stops the saw and drill slipping off your maker). Step 2: Cut the paddle in half. Measure the inside diameter. It should be 27,28 or 29mm depending on manufacturer. Now you can order the parts to make the join. i.e. the spigot and spring button. Step 3: When you get your parts(Spigot & Button €11), offer the spigot into the shaft. Hopefully its nice and tight or even a little big. You will need to sand it to roughen the surface for good adhesion anyway. Step 4: Epoxy half the spigot into one half of the paddles. Once you have done this you need to leave it for a while to set. Step 5: Put the paddles together at a zero degree feather (blades lined up) Mark the centre line across the join. Now if you want your paddles at 45 degrees you need to make a mark 11mm from the centre line. I put a line each side of the centre so they can be set up left or right handed at 45 degrees. Step 6: Now you have your to points to be drilled. For the first hole leave the paddle together set at 45 deg to the right. Start with a very small drill bit and work up to the same size as the spring button. Now separate the paddle and drill the second hole.
Step 7: If you have some epoxy left put a very small amount on all the new surfaces you have created. i.e. the ends of the paddle and the holes to seal up the material. Once this has dried give it a light sanding.(400 grd). Step 8: Now you are ready to put the spring button into the spigot and fully assemble your new split paddle. You may need to do a little sanding or filing to get the button popping smoothly. As you can tell I was quite consumed by the process and didn't take any pictures but I hope with this guide and some googling you will have all the info you need to make your own split paddles. And remember "measure twice, cut once"
2 Comments
wouter
7/29/2016 12:12:38 am
where did you buy the spiggot & button (where can I find it online?)
Reply
Cormac O Bric
11/25/2017 08:43:21 pm
Hi David, hows things,
Reply
Leave a Reply.AuthorKayak instructor, athlete, business owner and outdoor enthusiast from the west coast of Ireland. Sponsors
Paddle & Pedal Blog HERE
Categories
All
Archives
September 2023
|


 RSS Feed
